

Author: CookDineHost
Marion's Perfect Glazed Ham Guide
Glazing a ham is one of my favourite festive rituals—it’s so simple, but it makes such a show-stopping centrepiece. Follow my step-by-step guide for a perfectly golden, sticky, and flavour-packed ham. I’ve also included my top tips to make sure you nail it every time.
Step - 1
Prepare your ham
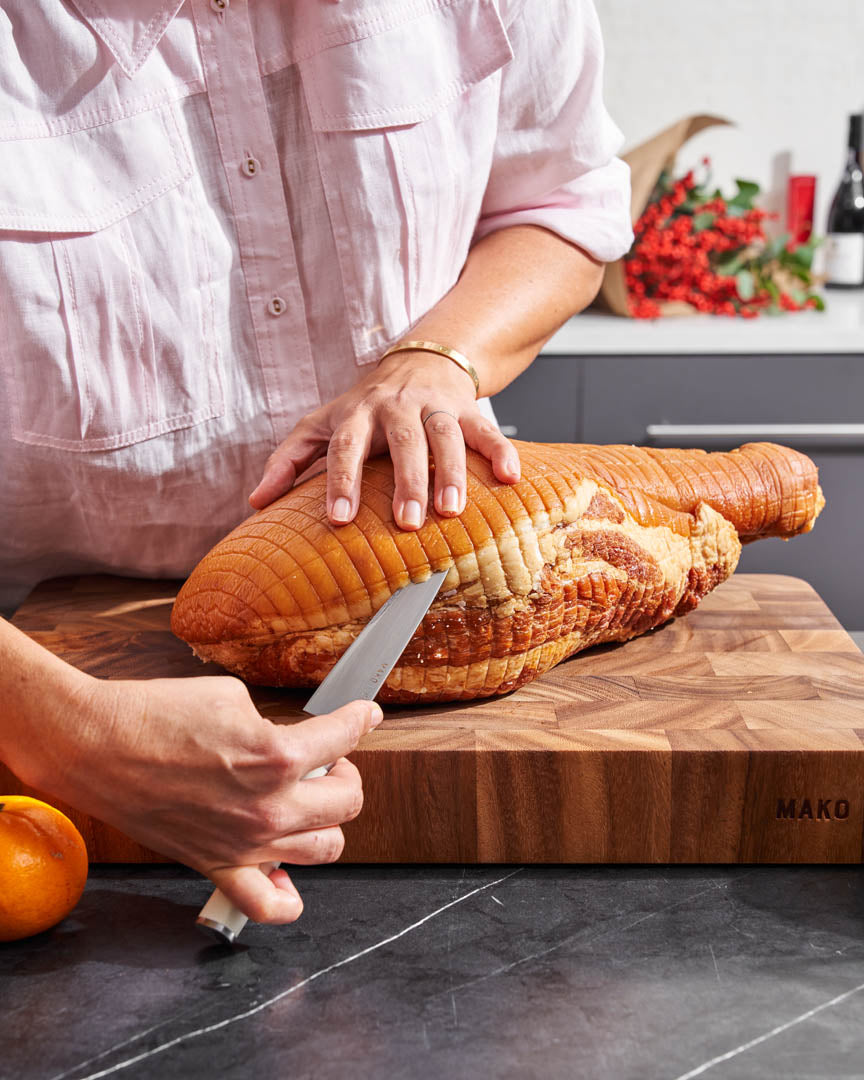
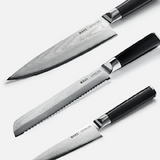
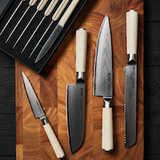
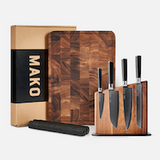
Carefully run a small sharp knife (the MAKO Utility Knife is perfect for this) under the edge of the ham skin, just where the fat meets the flesh.
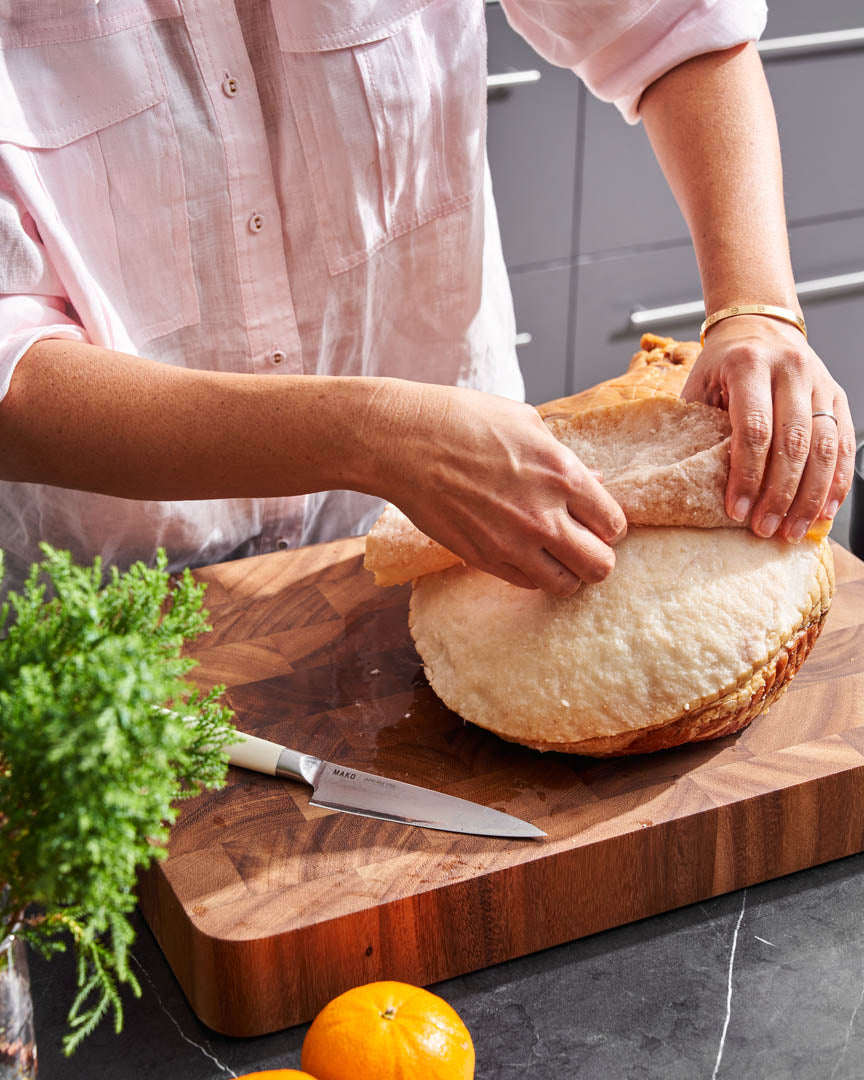
Gently pull the skin back in one piece—don’t rush! Use your fingers to ease it off while leaving a thick layer of fat intact.
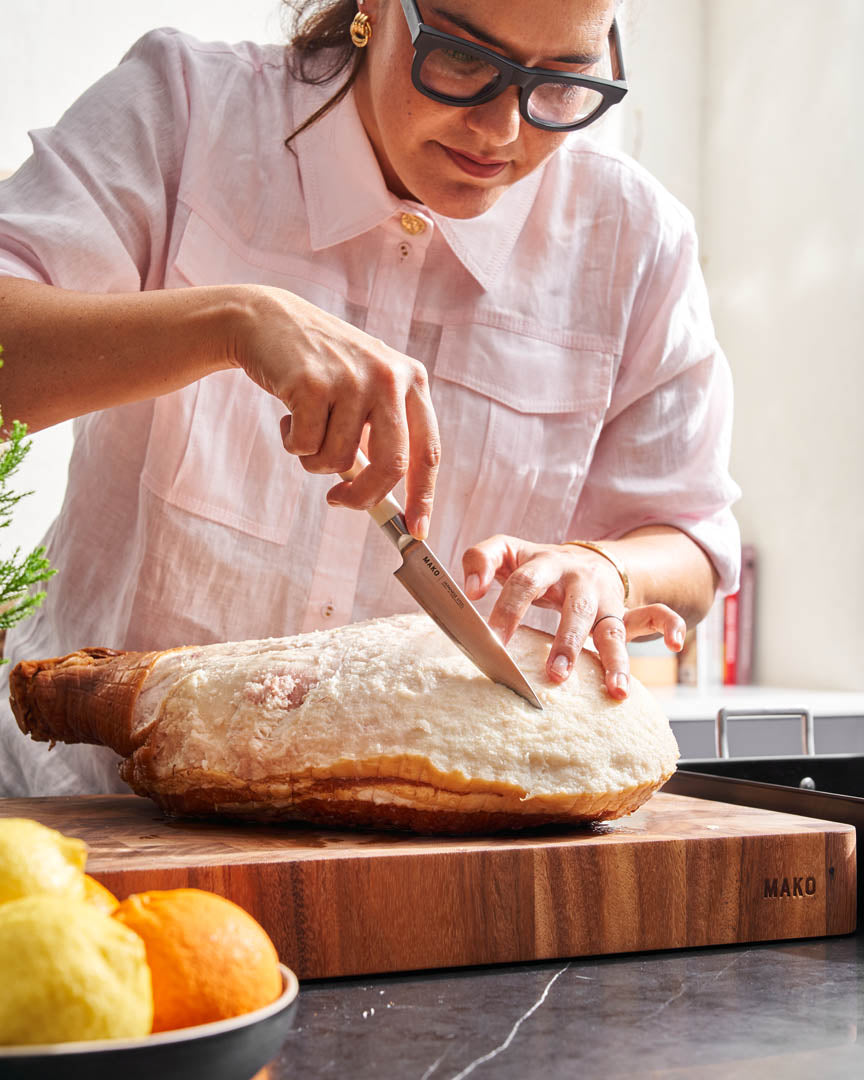
Score the fat in a diamond pattern or simply straight lines (just be sure to cut through about half a centimetre deep). This helps the glaze stick and gives the ham that gorgeous, professional look.
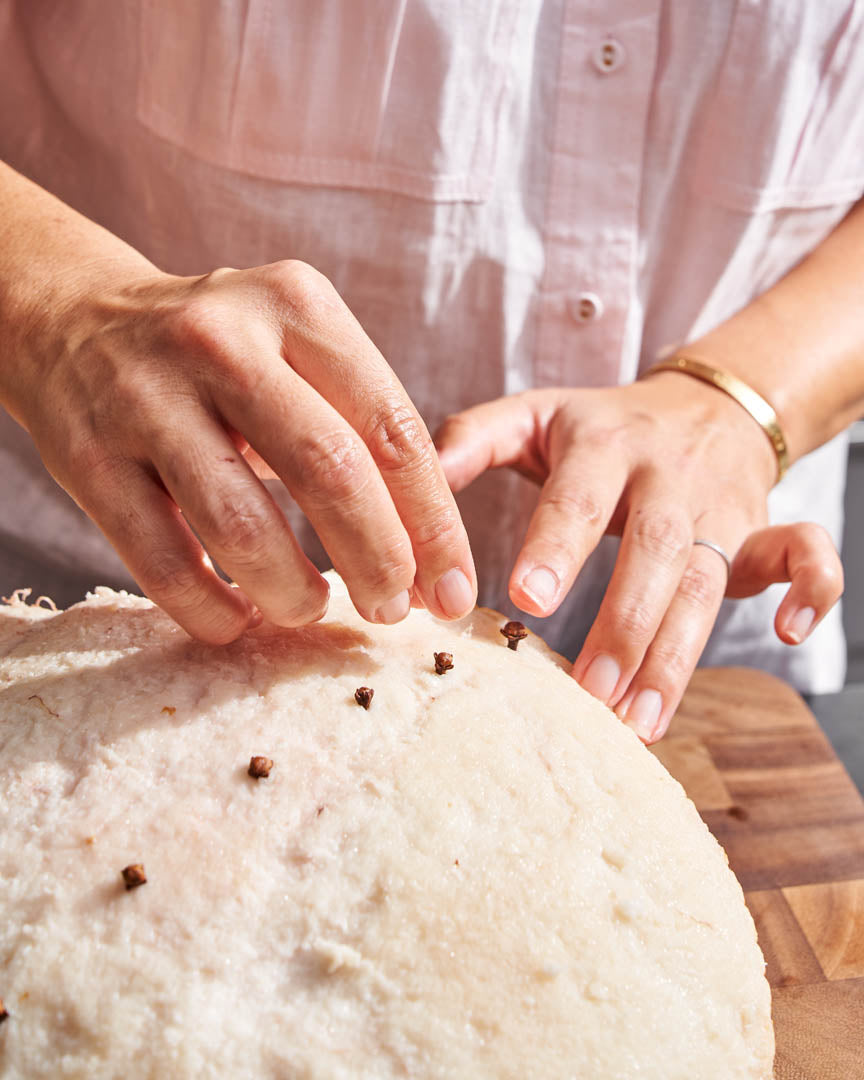
My Pro Tip: For extra festive flair, stud the centre of each diamond with a whole clove. It’s optional but adds a wonderful aroma.
Step - 2
Now the glaze
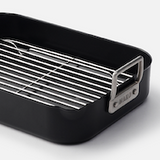
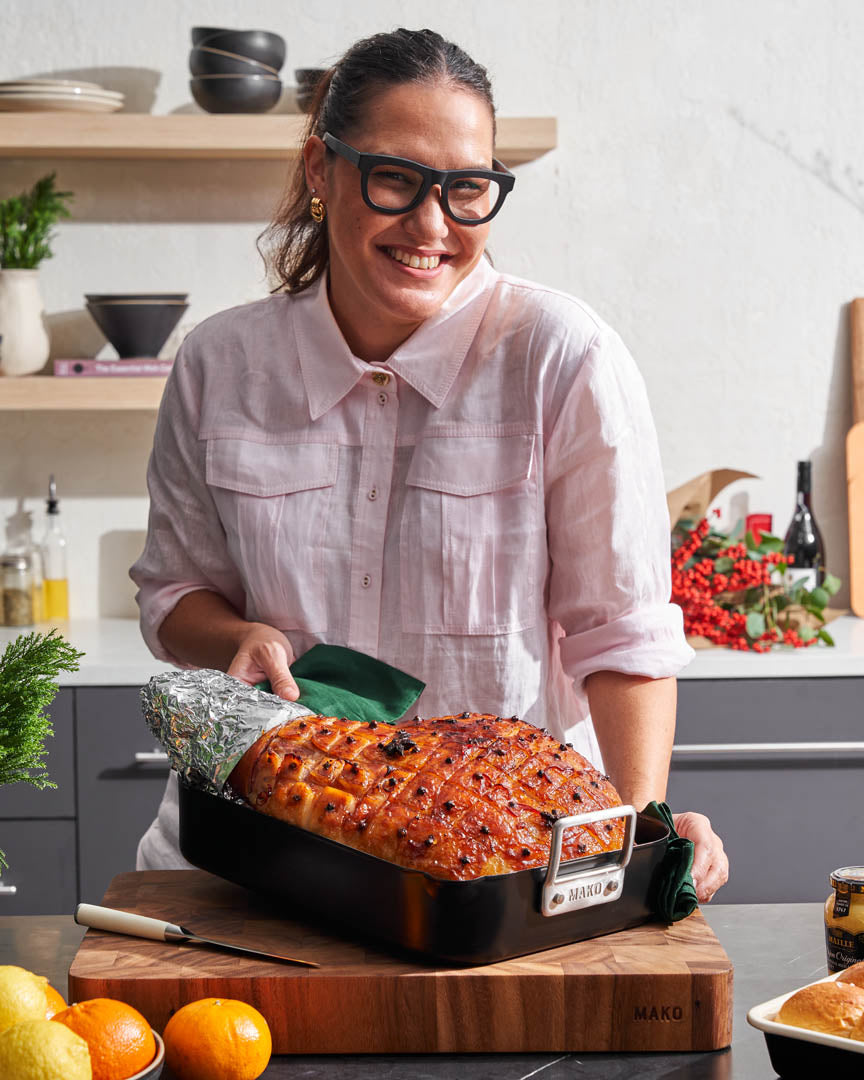
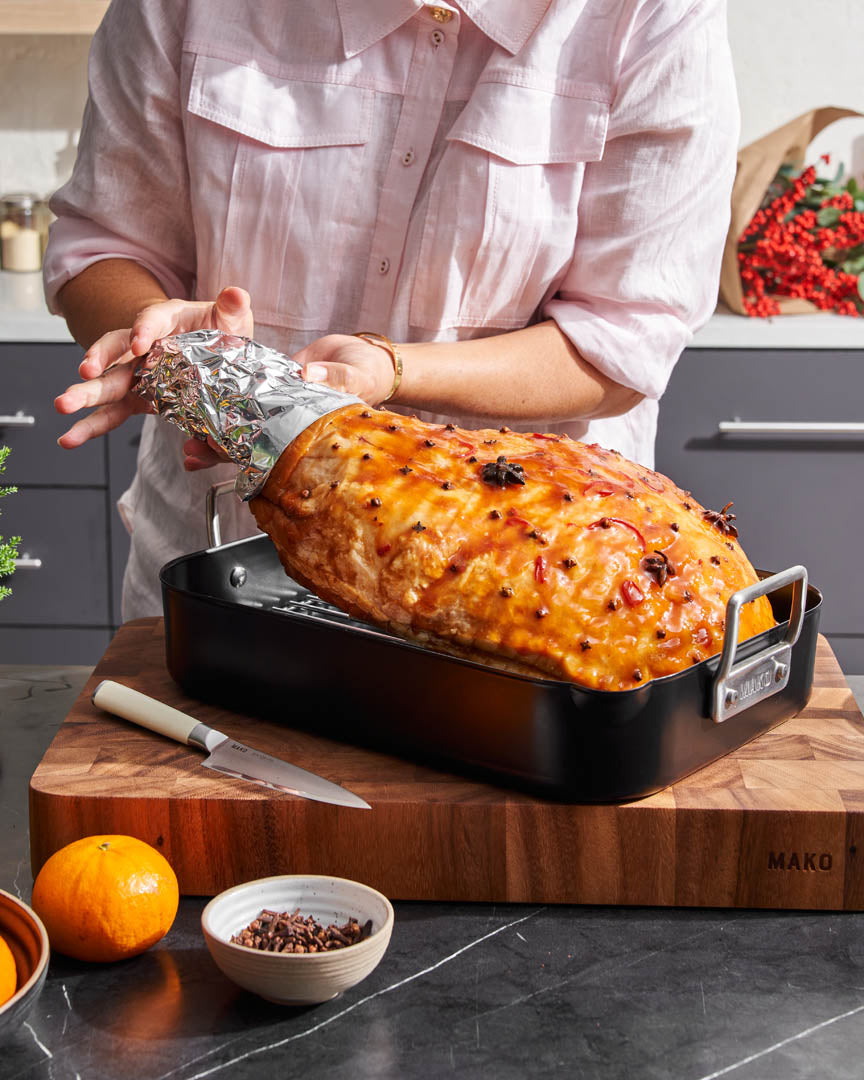
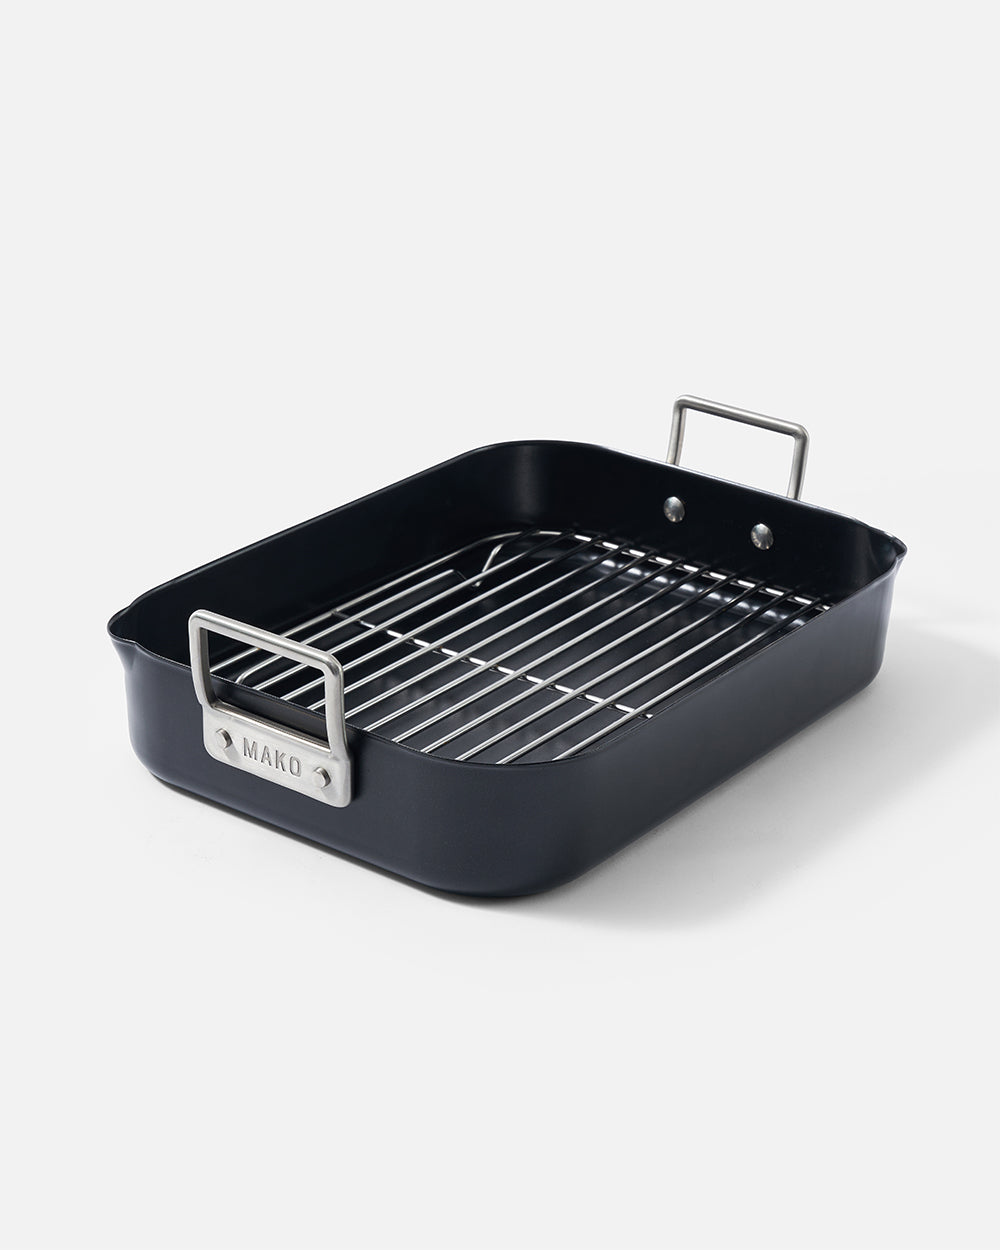
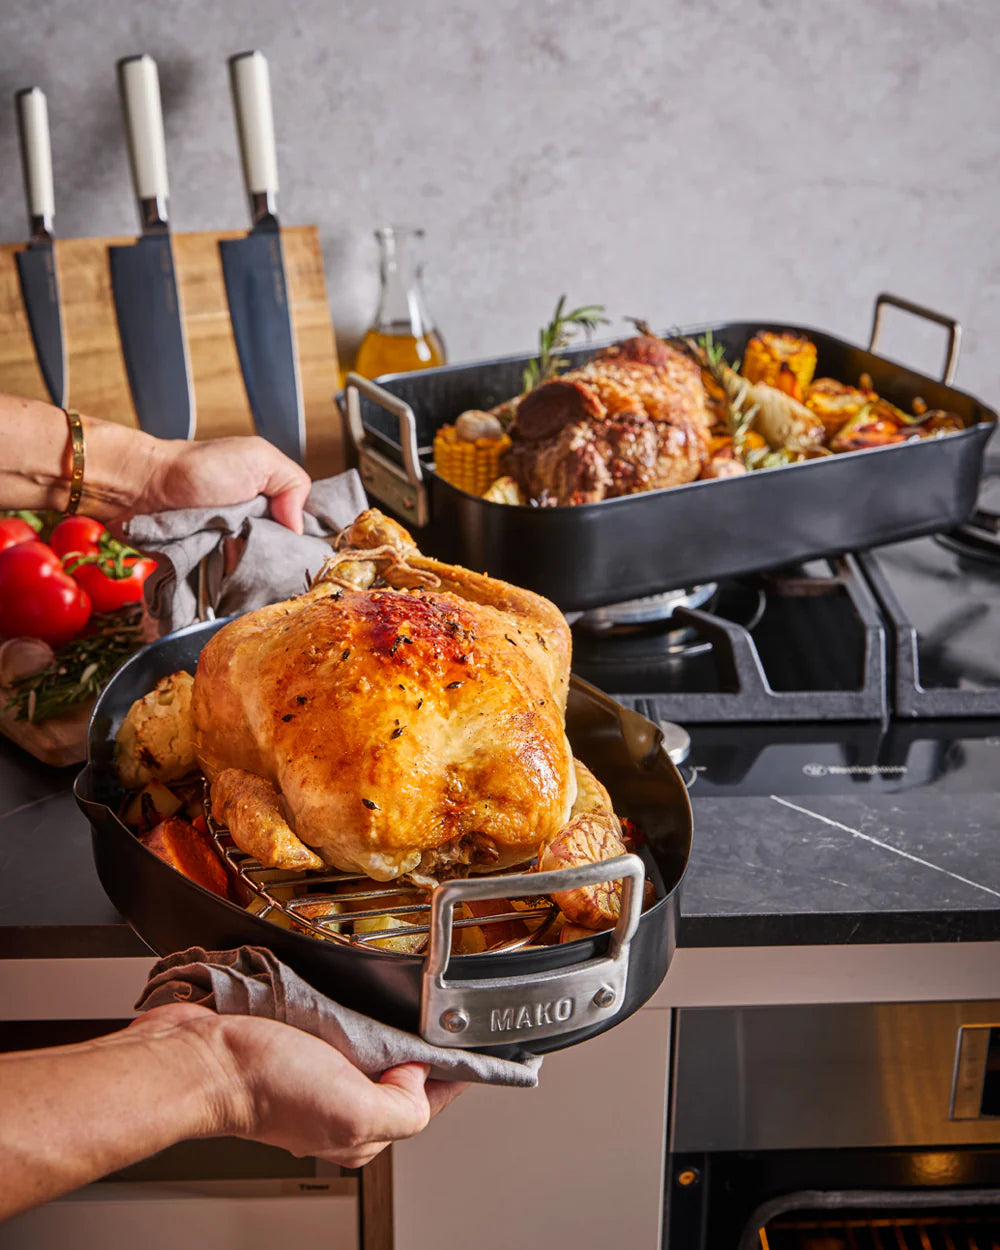
Place the ham on a rack/trivet in a large roasting dish lined with foil (the MAKO Aero-nonstick Classic Roaster is perfect for this). Brush the ham generously with your glaze, making sure to get into all the scored lines. Wrap the ‘knuckle’ of the ham with foil to protect it from burning.
P.S. If you need a glaze recipe this is one of my favs ... Sticky Char Siu Glazed Ham
Step - 3
Roast & Baste
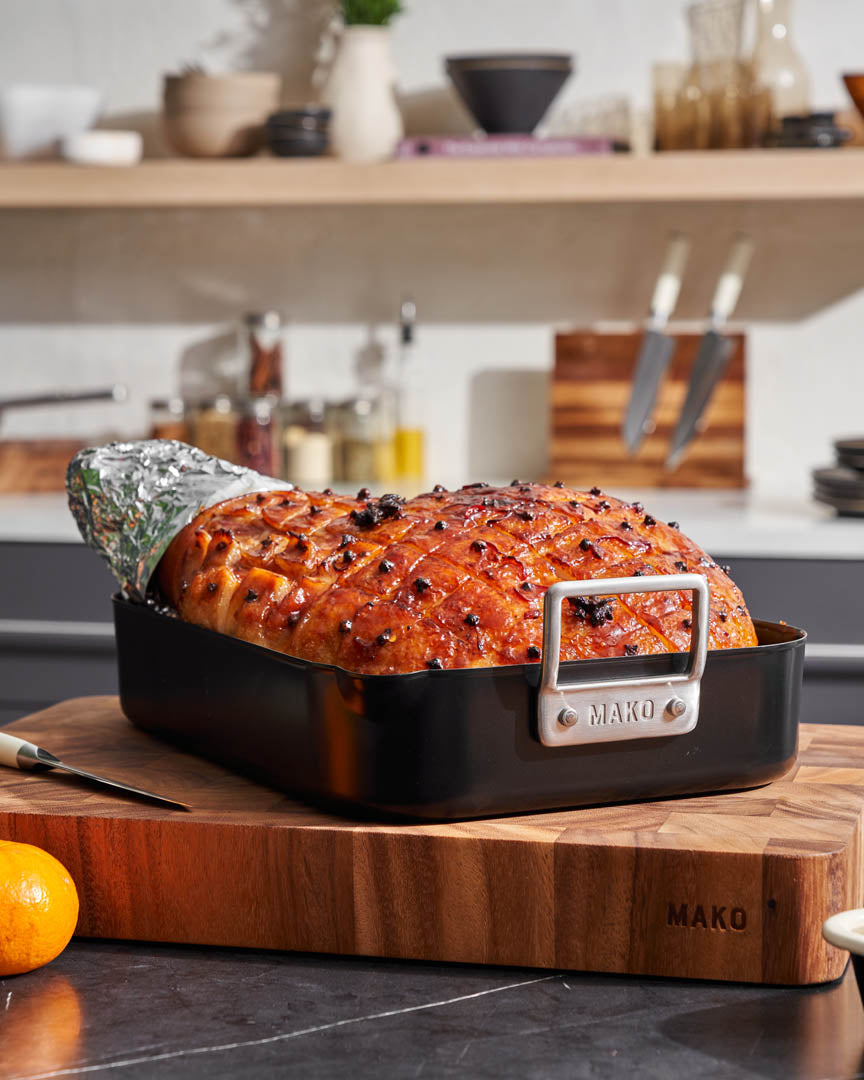
Place the ham in an 160C oven and roast for 1 hour, basting every 10 minutes to build a shiny, caramelised crust. If it browns too quickly, cover it loosely with foil. Once golden and sticky, let the ham rest for 15 minutes before slicing to keep it juicy and easy to carve.
Step - 4
Present, Carve & Serve
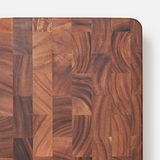
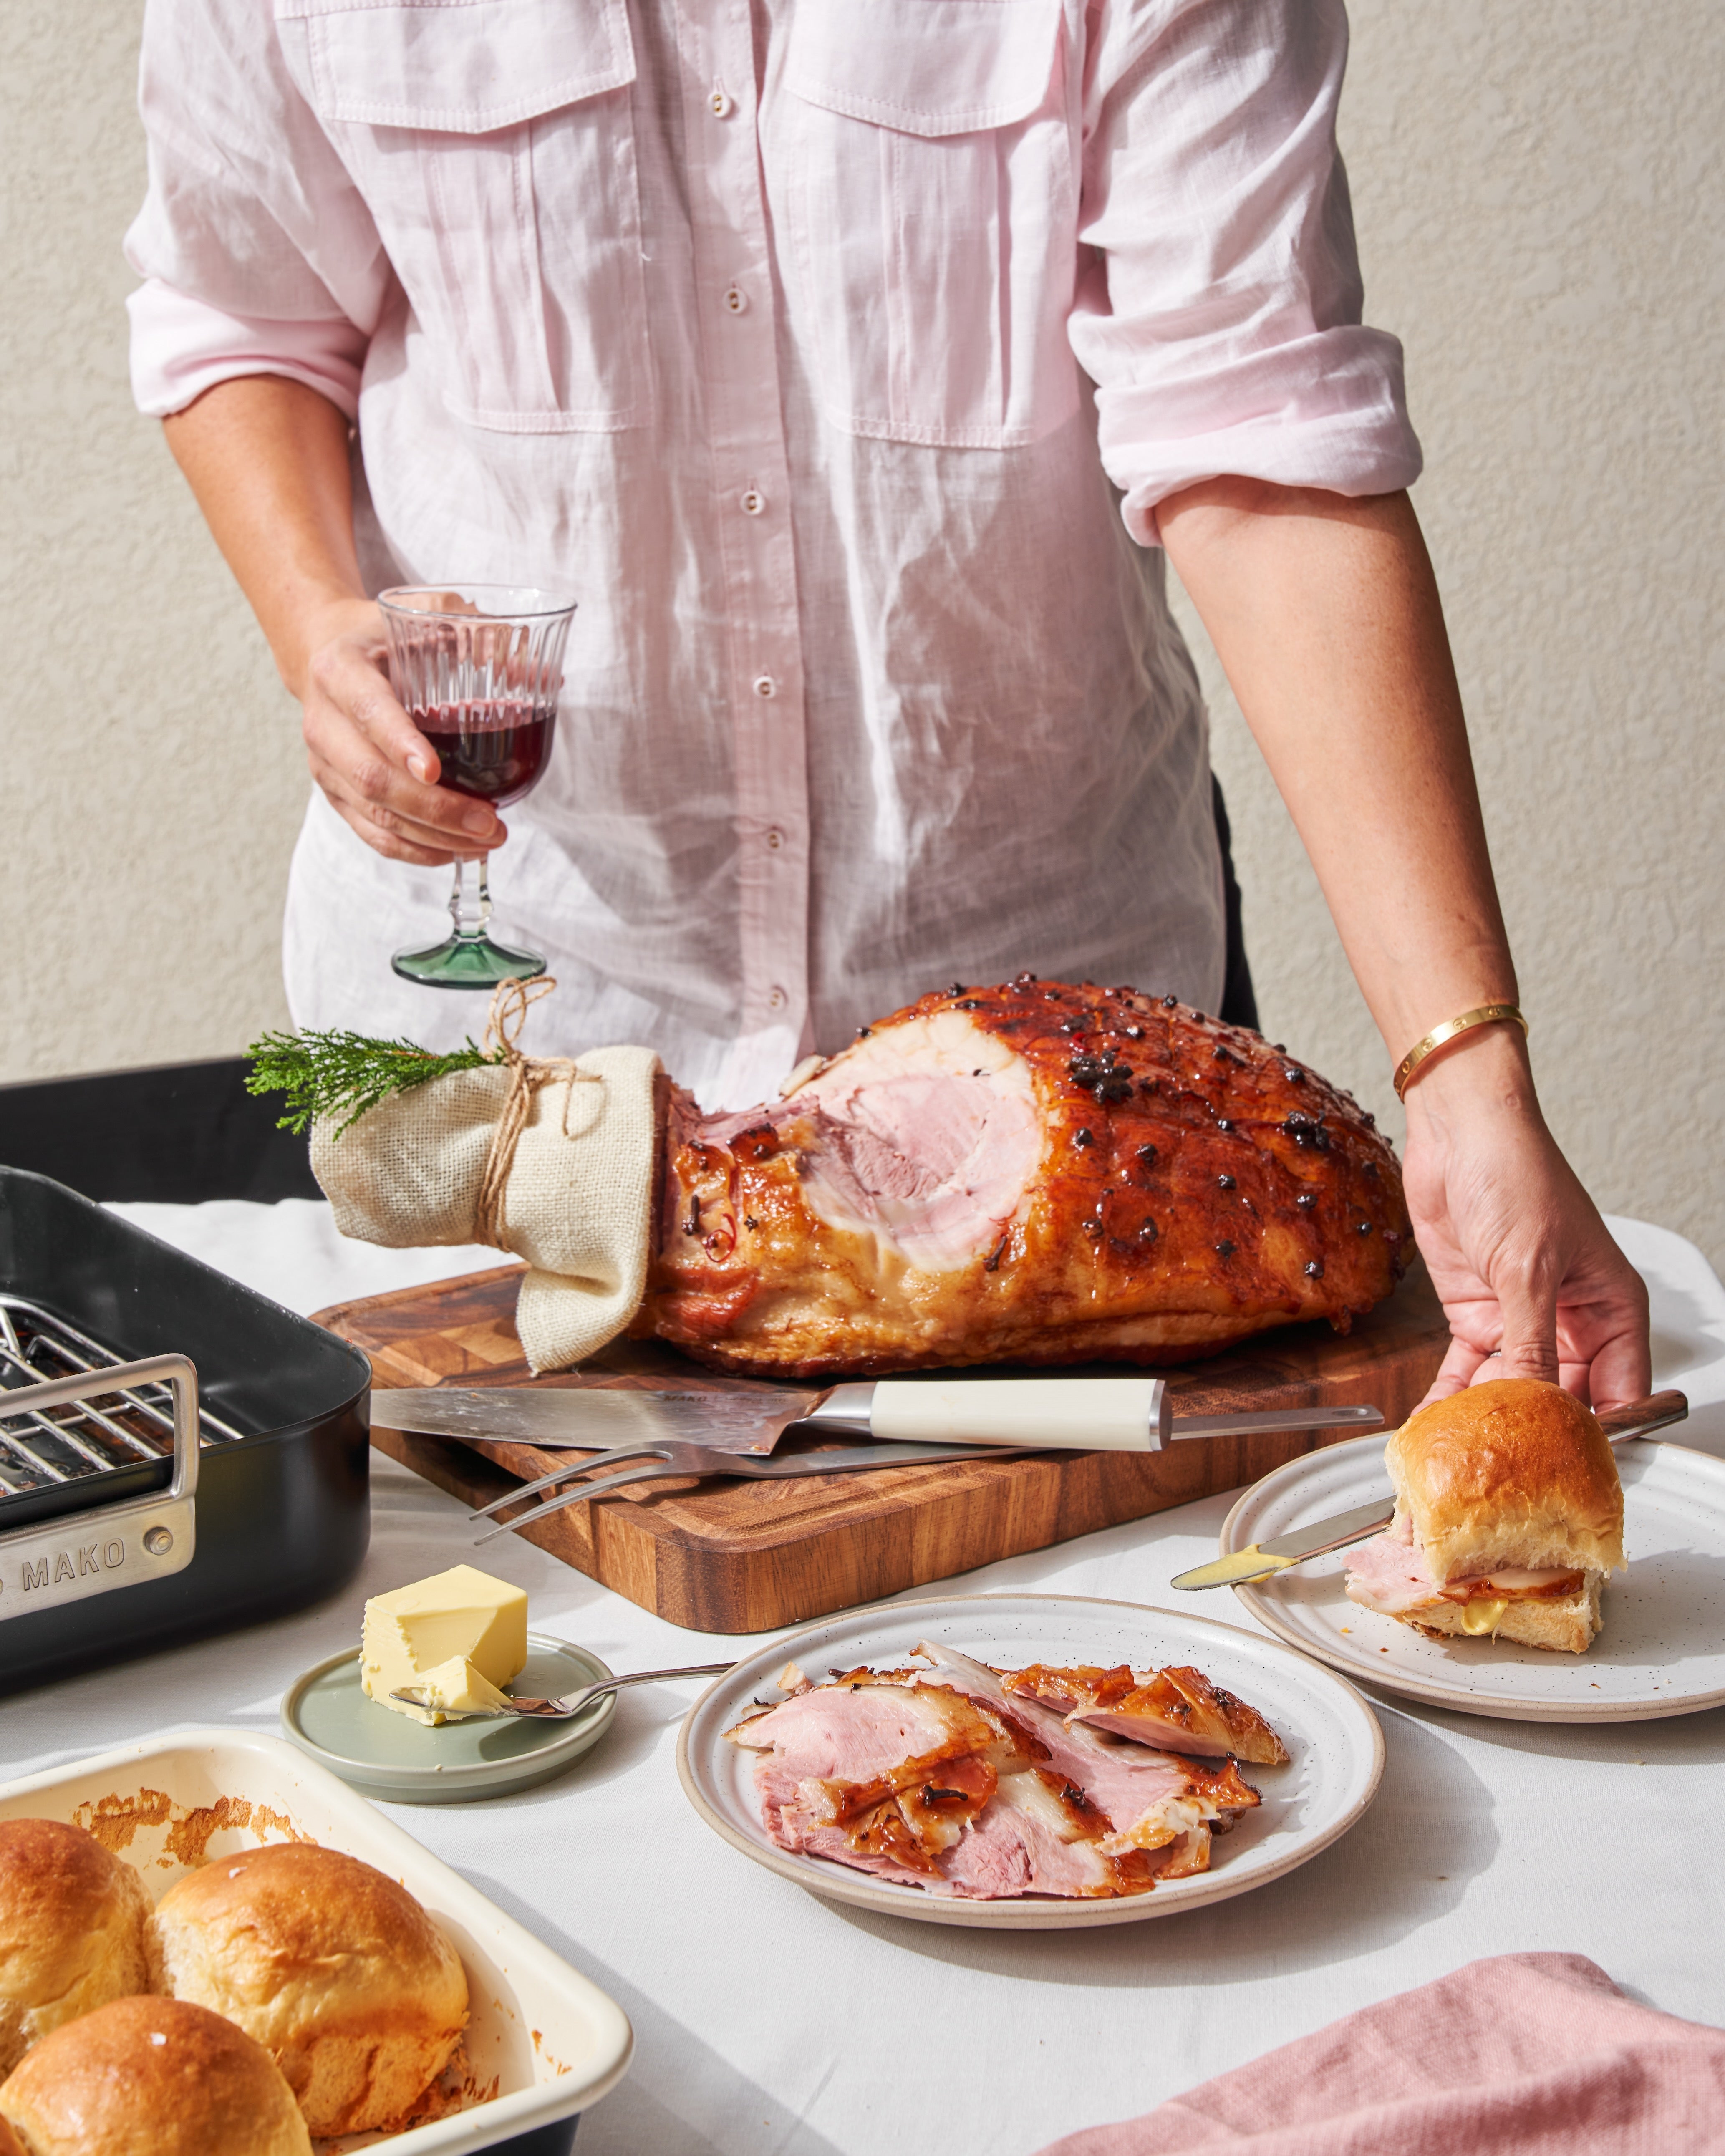
Now for the grand finale! Take your ham to the table, ready to carve and serve. Pro tip: slice it up on the MAKO Master All-Purpose Board—it looks amazing and keeps those juicy drips from wreaking havoc on your tablecloth. All that’s left? Some fluffy bread rolls, a smear of butter, a touch of mustard… and a glass of something festive in hand. Cheers!
SHOP THE LOOK


MORE READING
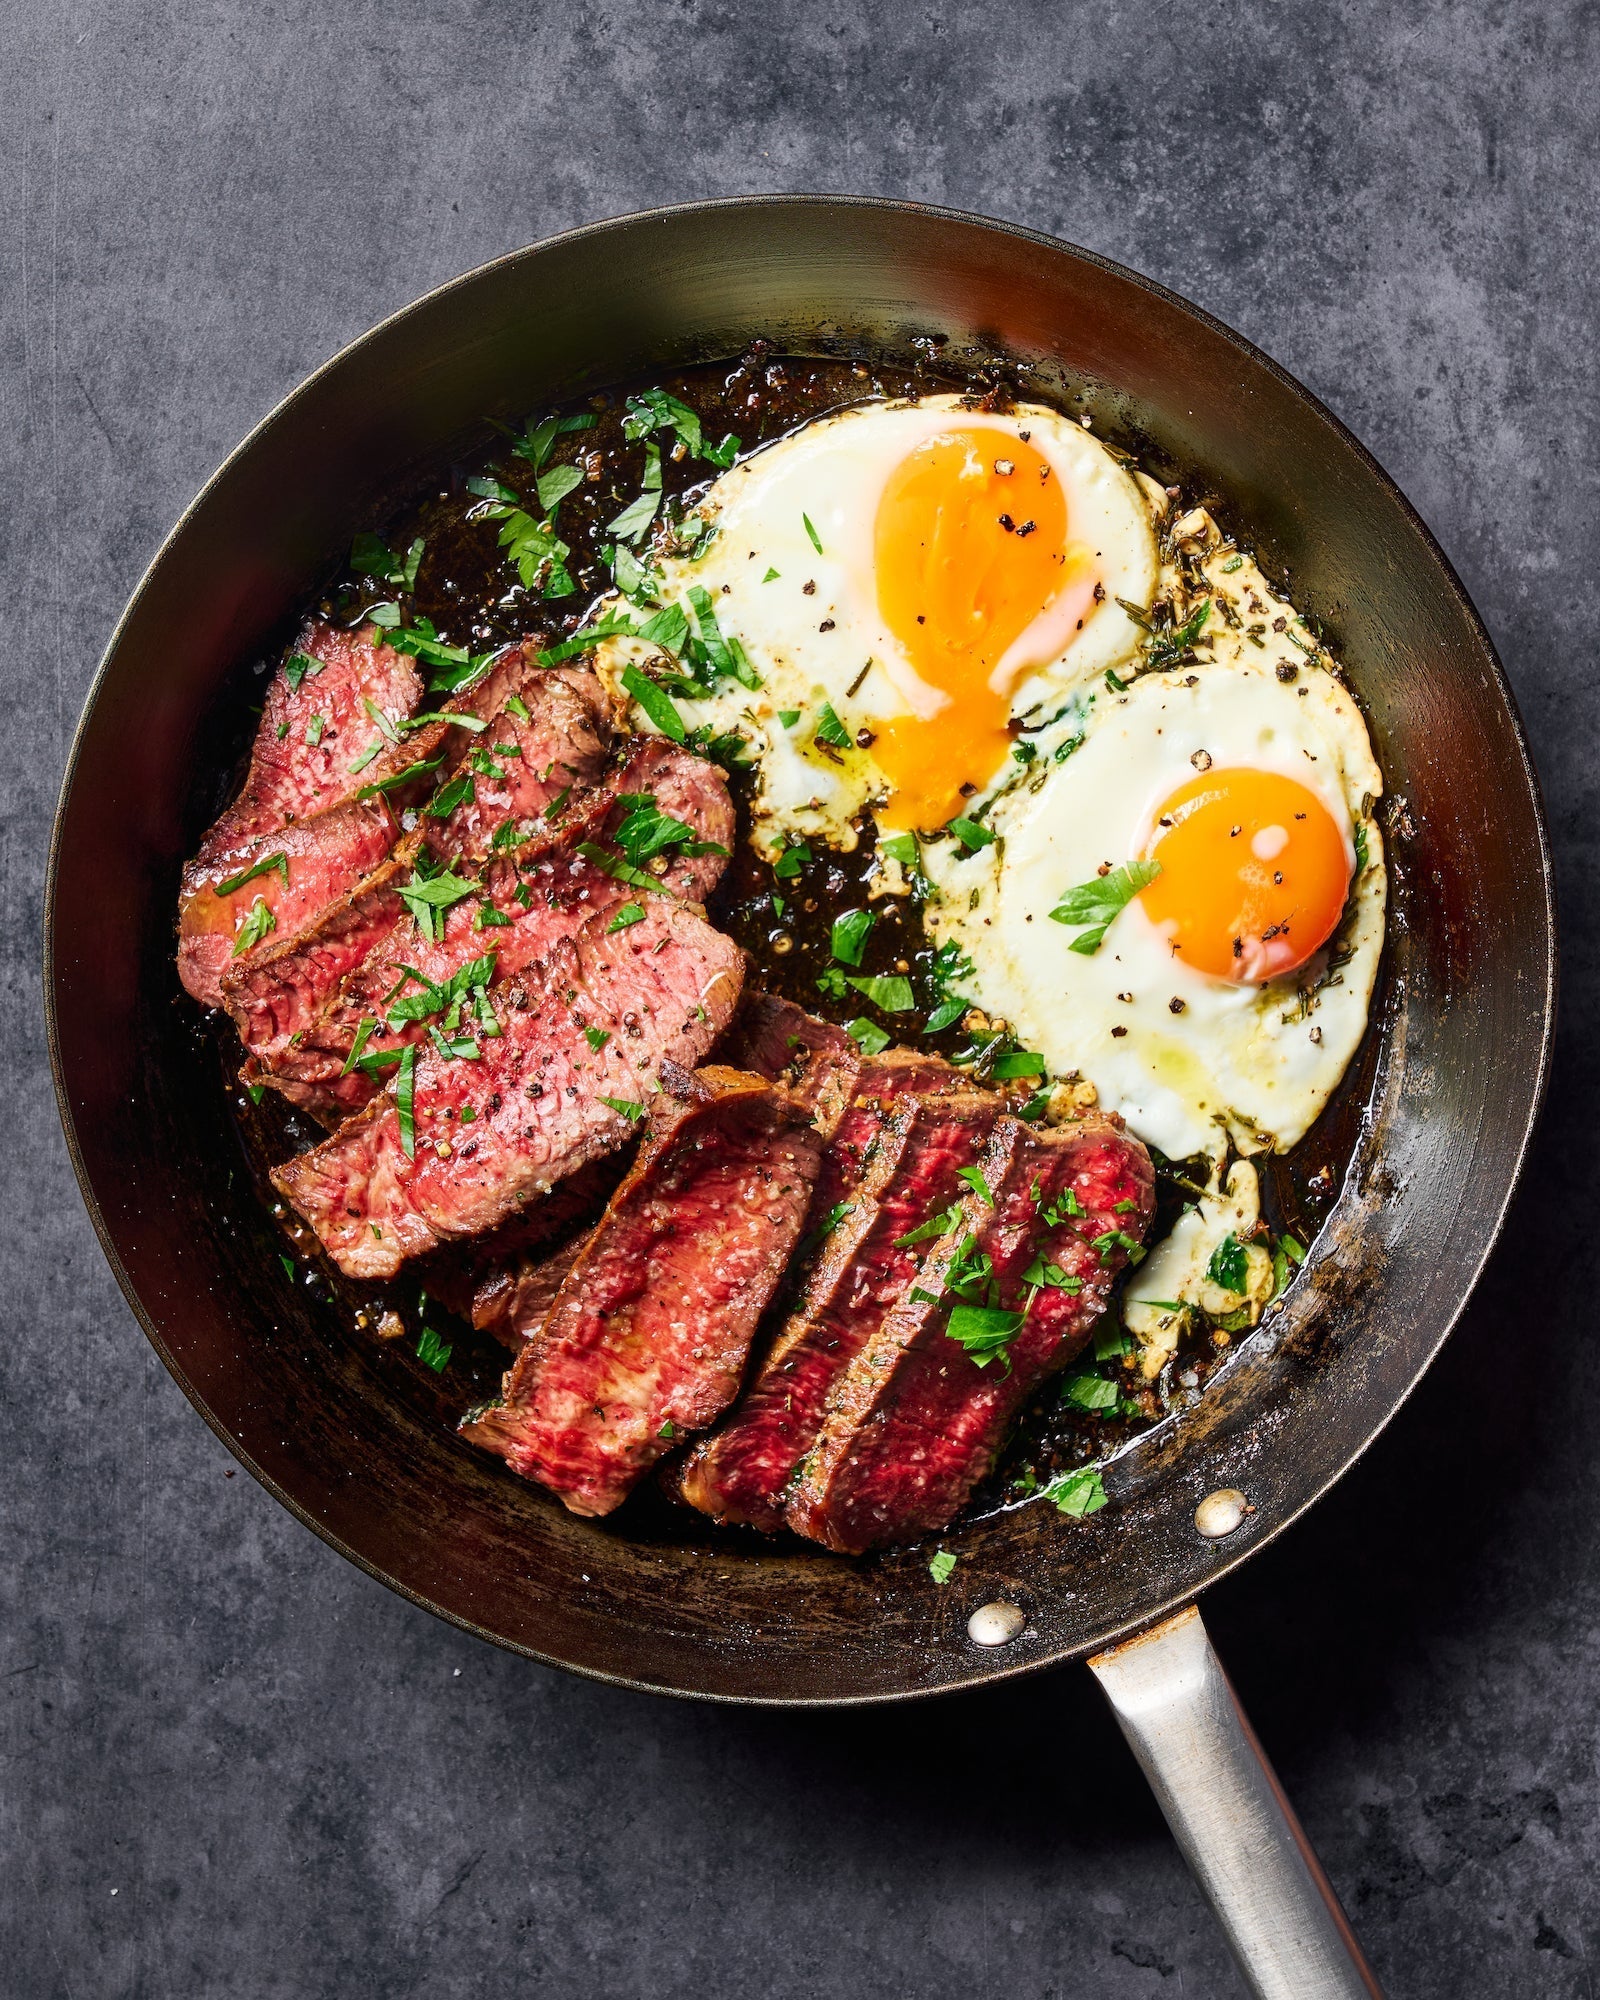
Herb Butter Steak and Eggs
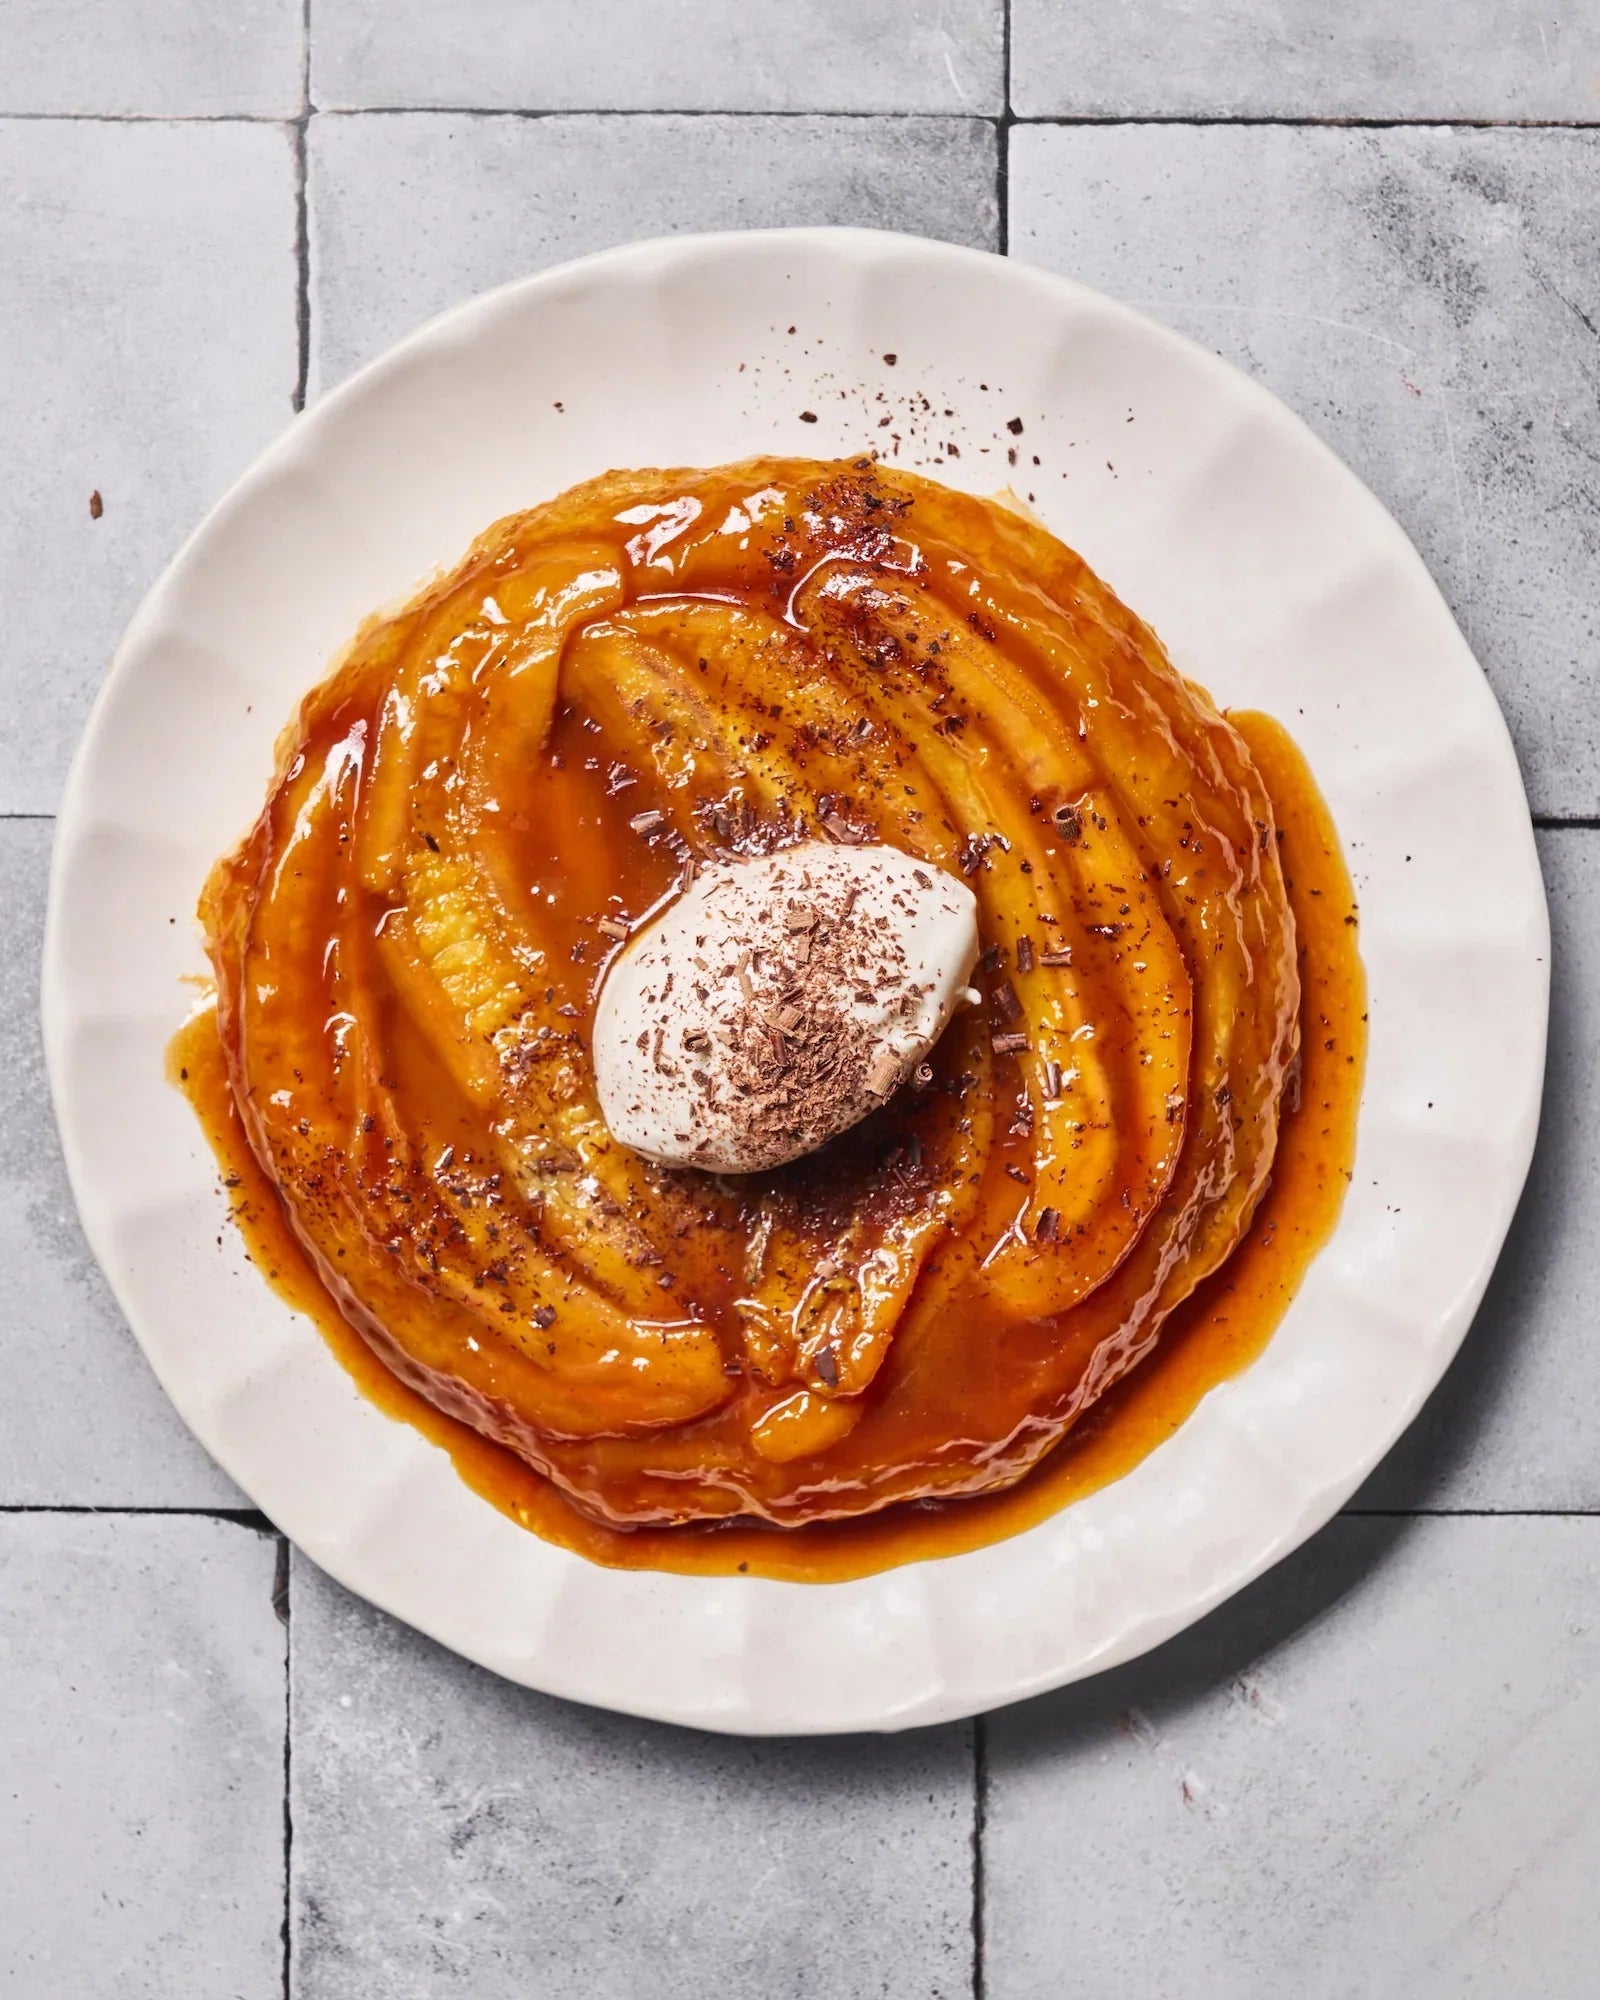
One-Pan Banoffee Tatin